
13 Tips and Tricks for Applying Epoxy Coatings

It doesn't matter if this is your first time mixing epoxy resin, or if you've been a pro at it, you should always remember these 15 tips and tricks to achieve great results with your epoxy project.
TIPS FOR PREPARING THE EPOXY RESIN MIXTURE
- The first thing to do is to plan your work. You need to think about the whole procedure before you start. You need to make sure your substrate is ready. Only begin mixing your epoxy resin once you have read the instructions carefully and have all the necessary tools on hand and in front of you.
- If you are using the mixture for the first time, be sure to make a few sample mixtures to know the curing time (only if you have excess product or a small sample kit). Also, it will help you know the physical properties, texture changes and startup process. Once your product is well mixed, you can apply it to your substrate.
- On high gloss surfaces, you should sand the entire surface with a grit pad of at least 150. Most epoxy products are low VOC or no VOC, therefore the substrate should be well prepared for maximum grip. Additionally, it is important to keep in mind that your surface must be clean before using the epoxy resin mixture. You don't want traces of dust in your final product!
- You should use a fresh brush and clean it using the sticky side of the tape before mixing the epoxy. This will help remove any loose fibers from the brush and will also require a little cleaning before your epoxy begins to harden. You should use a bristle brush or a bristle roller to get great results. However, if sanding is necessary, a chip brush will also do the job.
- Do not store your epoxy in extremely cold or dry places. Heat speeds up the curing process and cold can hinder the adhesion of the epoxy. Make sure the room and floor temperature are not too high, otherwise the epoxy may not adhere properly.
TIPS FOR APPLYING EPOXY RESIN MIXTURE
- Epoxies that cure at room temperature, such as CCR and CLR, are greatly influenced by humidity and temperature. Therefore, do not apply epoxy resins for hot coating and laminating in cold temperatures, on surfaces with condensation or on days with high humidity levels.
- For quick cure times, wait for the epoxy resin mixture to sit for a few minutes before pouring. Remember that high temperature can speed up curing times. So if hot weather is the problem, use ice packs in a zip-top bag or plastic bag to cool the bucket/can you are mixing. Additionally, you can use a slow down procedure by adding a little paint thinner which will extend the pot life.
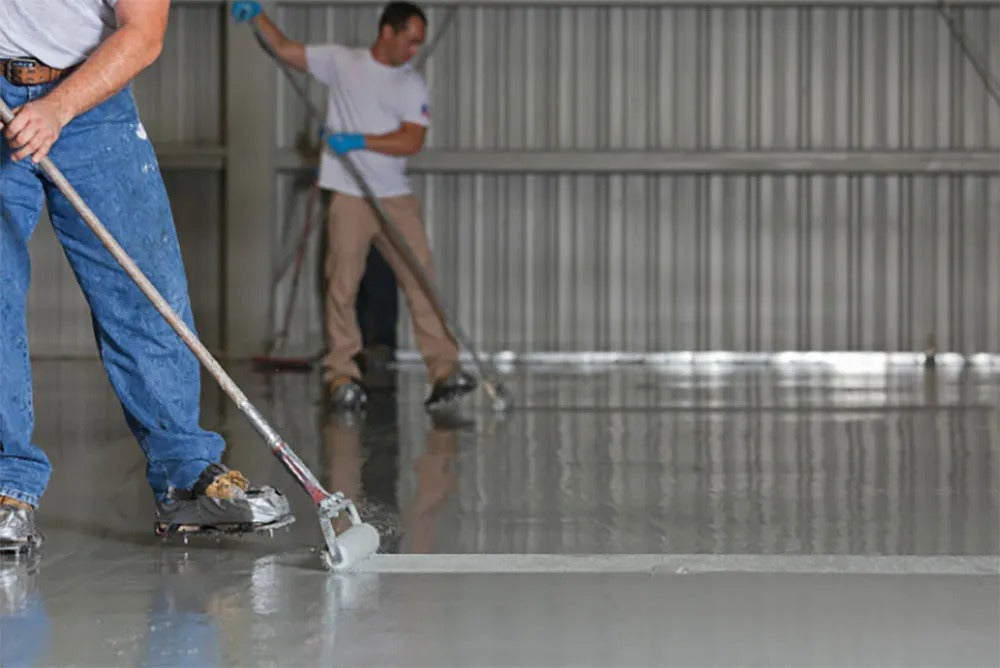
- Spread a thin layer of well-mixed epoxy using a squeegee first, then use a brush to finish the edges. You can also use the "W" method to ensure an even finish and go over it with a back roller to reduce air bubbles and help spread out any areas that may have excess epoxy.
- If you need to use more epoxy resin, let the first coat dry and apply the second coat about 2 hours later or until it hardens. Also, for best results, apply the resin in a cross or "W" pattern, then give it time to settle before it begins to harden.
TIPS FOR CLEANING AND CURING EPOXY RESIN MIXTURE
- Always stay put until the resin is bonded and hardened, as surface contamination can lead to low spots and fish eyes on any project. If the time is shorter, monitor the space the next day to ensure adequate curing has occurred.
- Use a slower resin if the curing time is too fast. Likewise, use a rapid hardener if the curing time is too slow.
- Allow the epoxy to cure at room temperature. Remove the tape after 1-2 hours after the resin has started to harden. If cutting is necessary, be sure to do it where the floor and epoxy are 75% cured. Once it is fully cured, mechanical removal and sanding will be required. Also, when the dripping has stopped, you will need to remove the edging tape. Note: Use only painters tape or 3M tap. The tape will remove paint already applied to surfaces.
- Use only denatured alcohol for cleaning. It's easy to clean the squeegees once the epoxy is fully cured (takes overnight). Let your tools sit in a bucket of cleaning solution overnight, then wipe off the cured epoxy and clean with denatured alcohol. Make sure you dry them well! It's always best to use a new brush every time if it's within your budget. Additionally, if any of the materials come into contact with your skin, you should remove it immediately using warm water and soap. Don't touch your eyes!
After reading this, you should have a few tips and tricks up your sleeve for tackling your epoxy project! It is recommended that you read all safety advice that accompanies your product to ensure that you are working safely.
Peinture Dépôt offers you the full range of epoxy coatings, components as well as all the tools and accessories to successfully complete your project. Discover them here !